
Splitting and Repotting a Basil Plant from the supermarket
A pot of supermarket basil isn’t one plant; it’s usually twenty to thirty seedlings crammed into a single small pot, which is exactly why it wilts and dies within a couple of weeks no matter how carefully you water it. The fix is simple: split it up.
I first wrote about this back in 2019, and it’s still one of the most useful five minutes you can spend with a bought herb plant.
I’ve since filmed a full, updated video walking through the whole process from start to finish — including how I group the split plants into one larger planter afterwards for a fuller look, rather than leaving them scattered in separate small pots. Watch it below, then follow the step-by-step photos from 2019, underneath if you’d rather work at your own pace.
Below you can find pictures and the video of the result of splitting basil of my 2019 blogpost, where I illustrate how I am splitting and repotting a basil plant from the supermarket into several different basil plants.
Through splitting a basil plant into multiple smaller plants, I am trying to guarantee a constant source for harvesting one of my favourite herbs for cooking dishes.
Let me show you how to split and repot a basil plant, bought at the supermarket or grocery store, by demonstrating the different steps I recently took to get the job done.
1 – Getting everything ready :
the basil plant, the new plastic pots, my own potting mix and some extra cuttings I have been rooting.
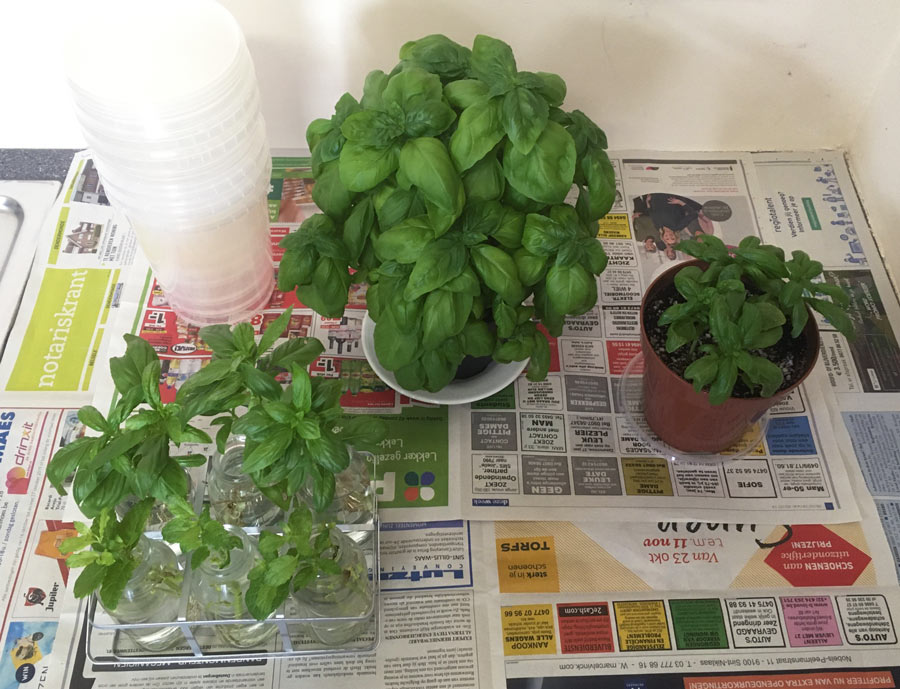
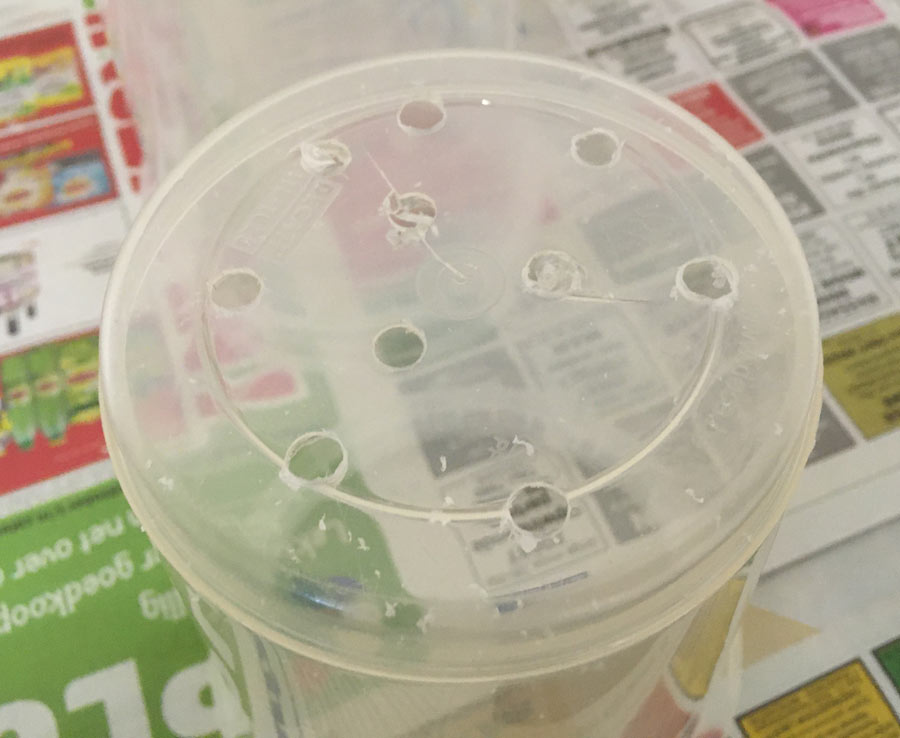
2 – Drilling holes in the bottom for good drainage:
This step is really important, because basil, like other herbs, hates to have its roots in really wet soil. The roots wil rot and the plant will die. The holes in the bottom will make sure that the water gets drained.
I use plastic soup pots, because this allows me to keep an eye on the moisture level inside the pot and also to watch the development of the root system.
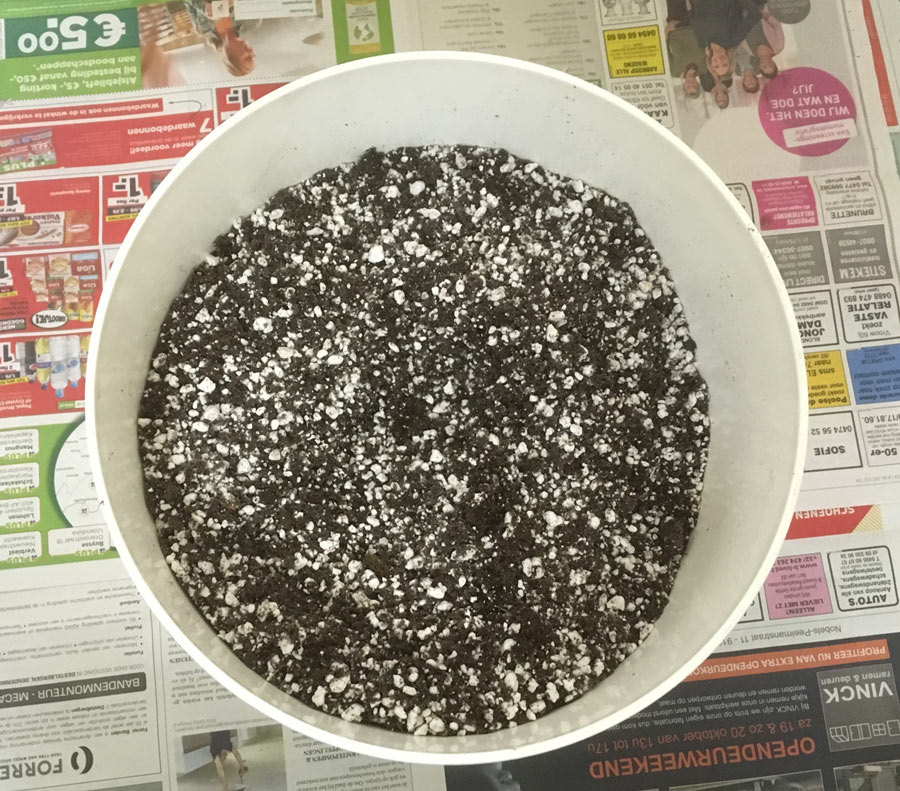
3 – The potting soil mix is ready
I will always use my favourite mix of potting soil. You can read all about it here: best soil for herbs – how to make your own potting mix
In this mix you can easily recognise the perlite.
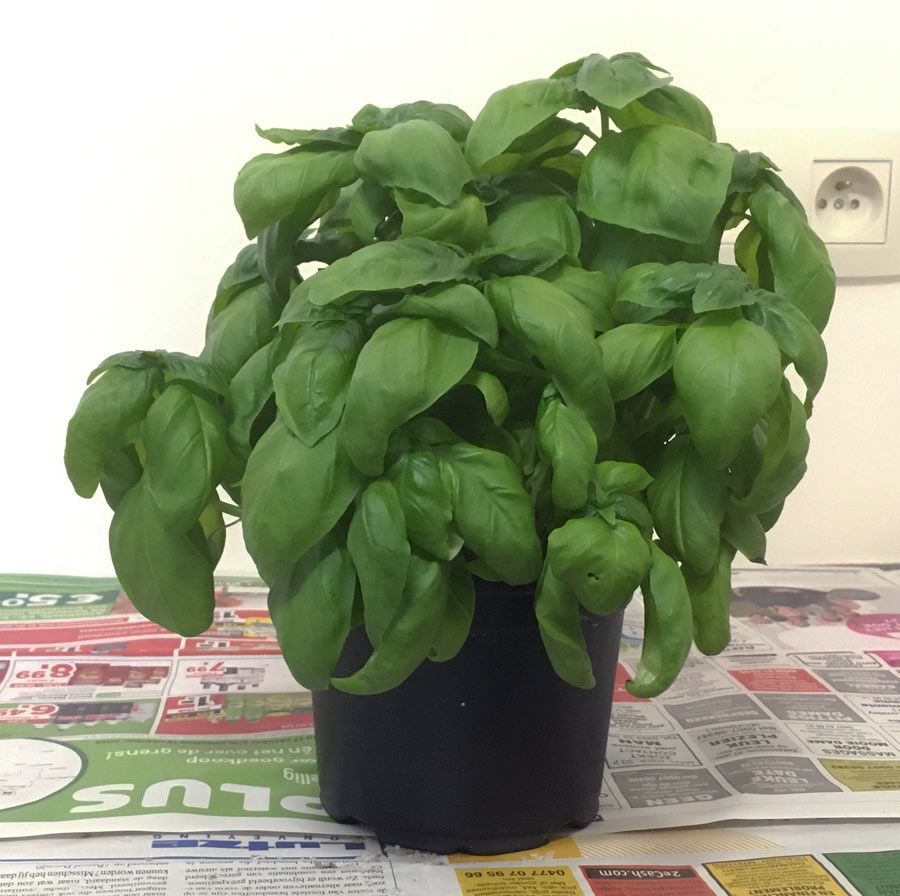
4 – The basil plant from the store
This is the pot of basil that I bought in the supermarket two weeks ago, I kept it on the window sill and in my growing spot with grow lights the last two weeks. I was especially paying attention not to overwater the plant.
5 – Be careful for the root system
Hold the plant in one hand and carefully loosen the pot from the roots, and take it off. Try to keep the roots intact as much as possible.
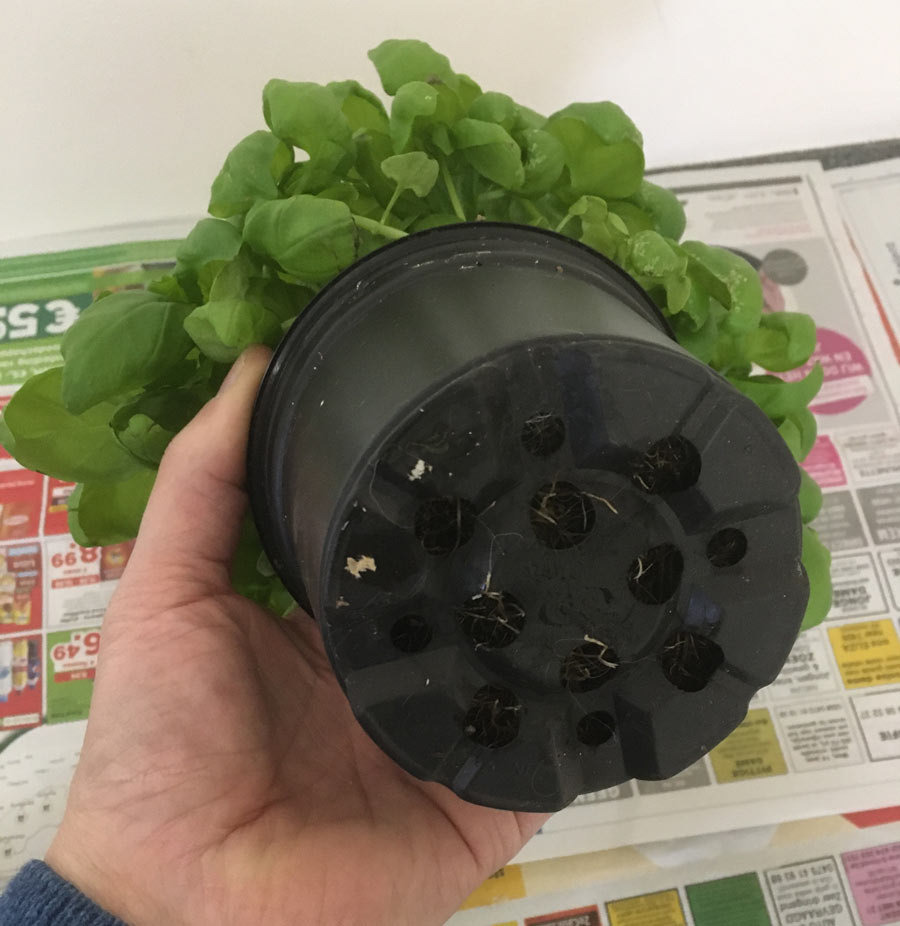
6 – Check the root system
The roots of the plant should have a light white color to indicate that they are healthy. Dark and moist roots often indicate that they are rotting. In that case drainage was not sufficient and the plant was overwatered. This root system is still young and looked quite healthy.
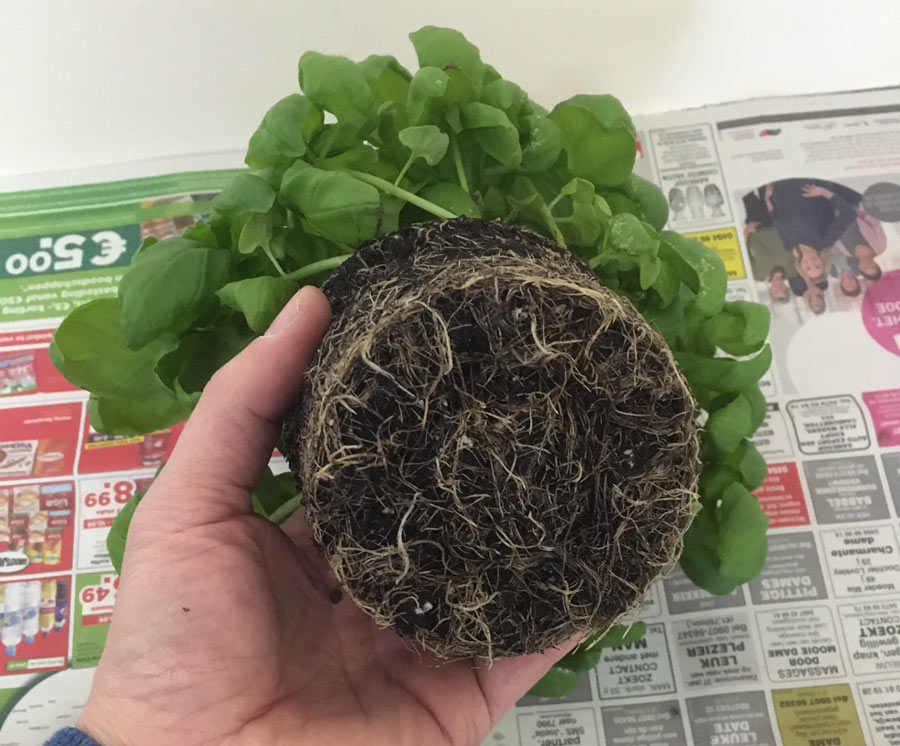
7 – Decide where to split the roots
Splitting the roots isn’t really hard to do. Although you will always damage some roots, the trick is to pull open the root system with your fingers, paring the basil plant in smaller pieces. Always try to do as little damage to the roots as possible.
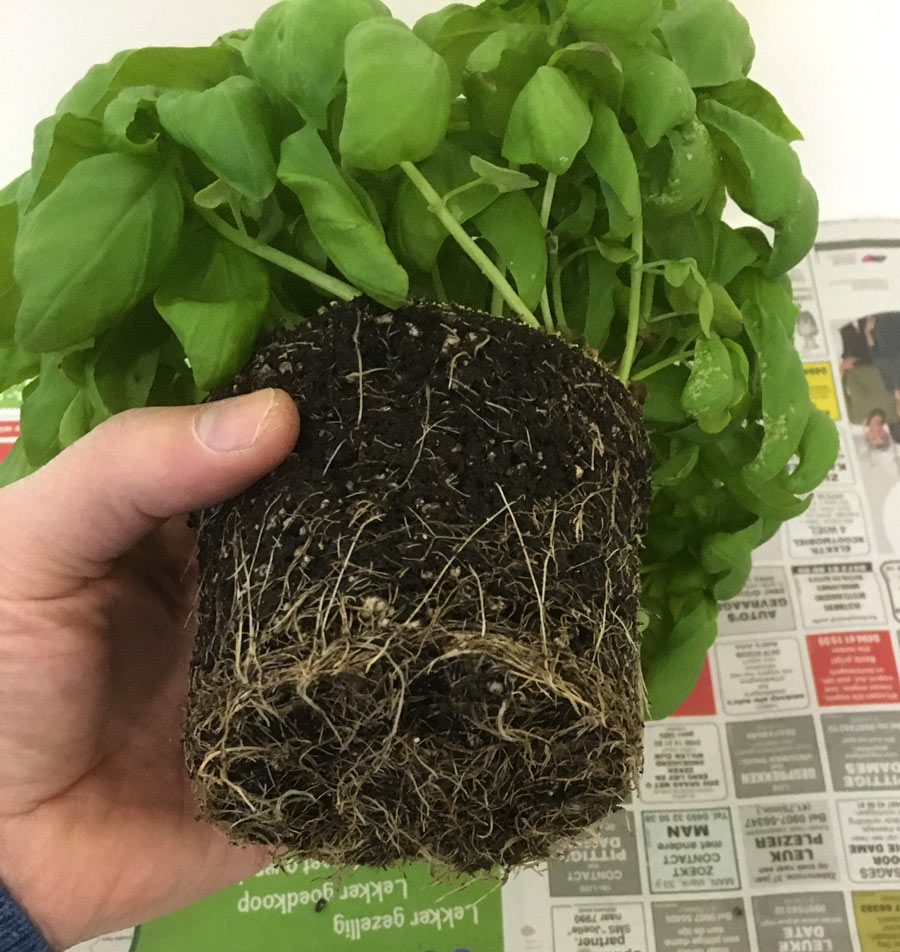
8 – Splitting the roots
In this picture I was splitting the root system into two parts.
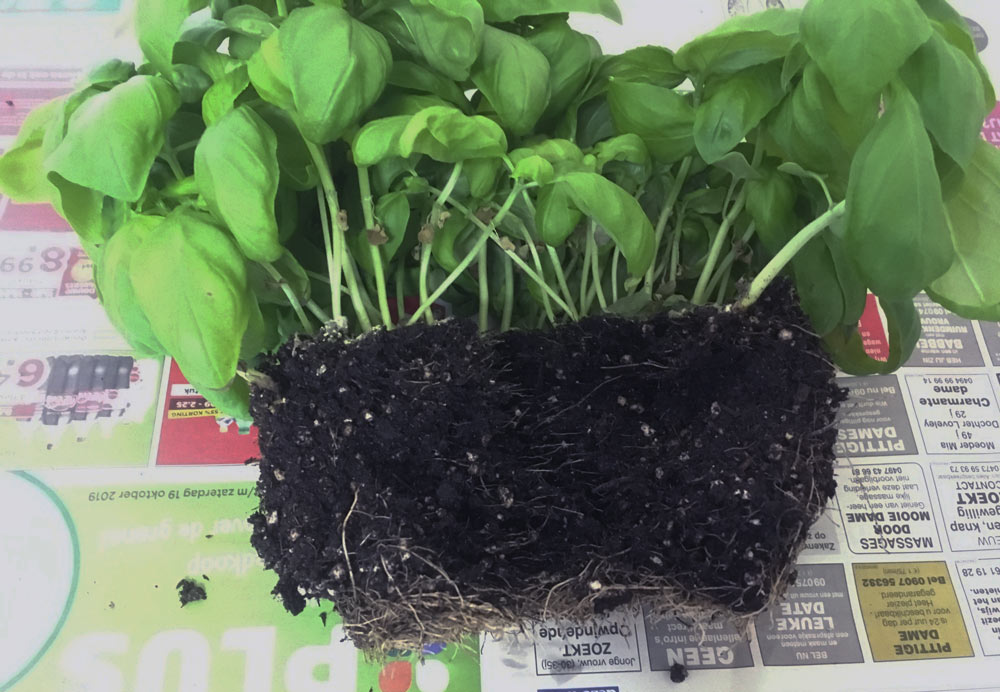
And next I splitted each half a second time in two. Depending on the size of the basil plant and the number of separate plants you want, you can continue splitting the basil plant. In this example I stopped when I had four parts.
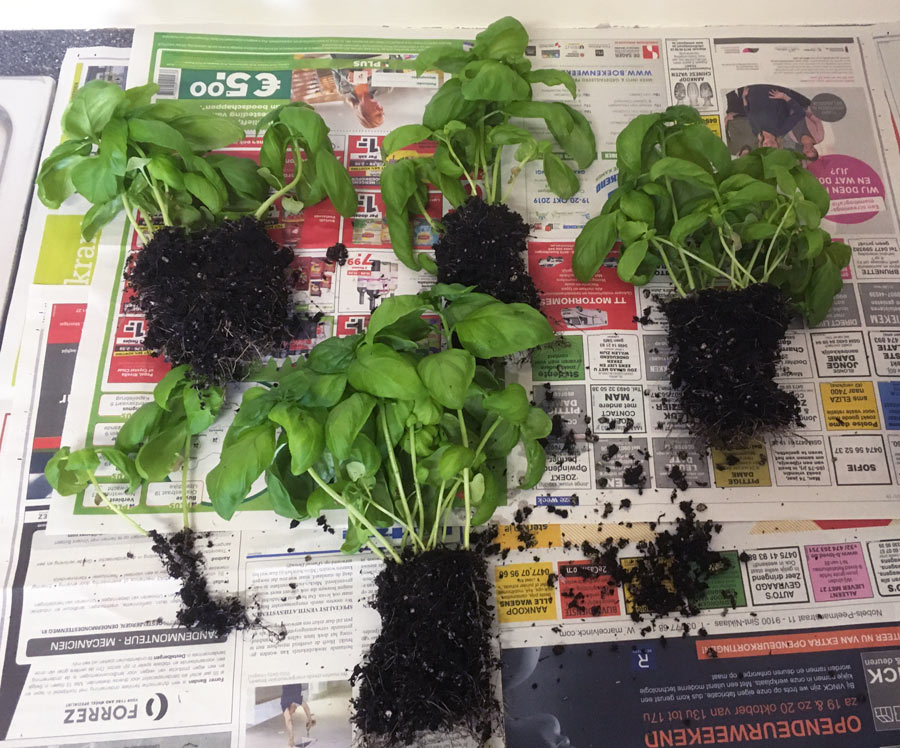
9 – Preparing for repotting the basil plants
Each plastic pot is filled with the potting soil mix. Because the soil is really dry, I added a little bit of water to handle the soil easier. With a stick I made a planting hole in the potting mix, the spot where the parts of the basil plant will get planted in.
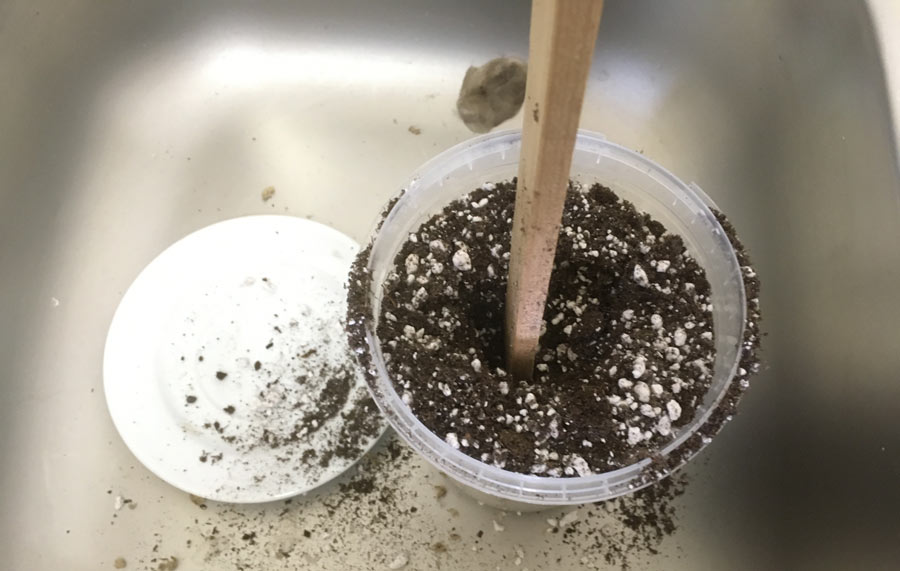
10 – Replanting the basil plant
After placing the basil plant in the plant hole, add planting soil into the pot and around the stems of the plant just up to the right height.
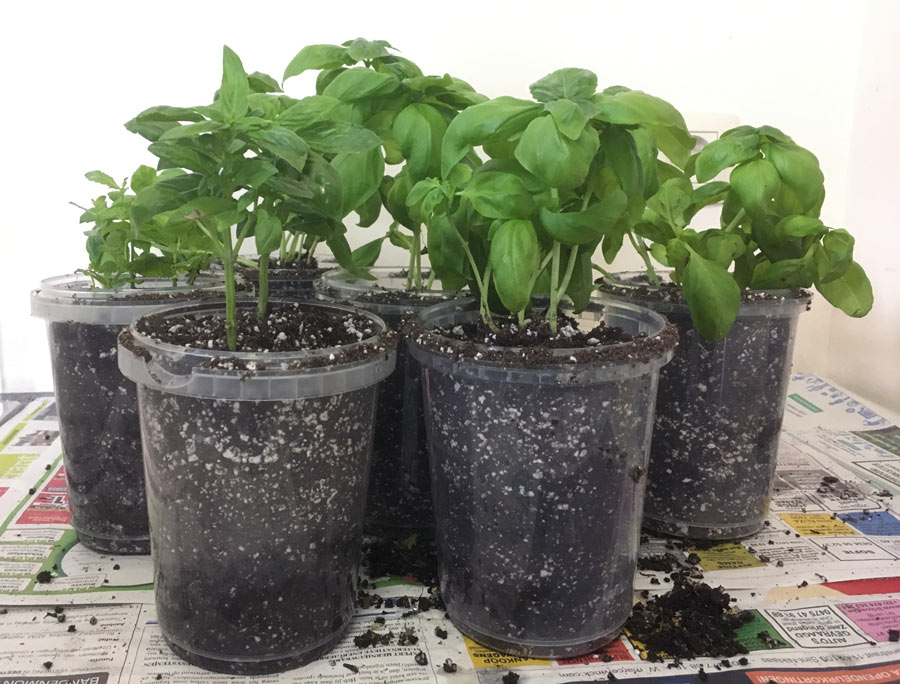
11 – Add water
The next step is to add water to the pot. I have put the pots in the sink filled with water so the pots are watered from below, and after a couple of minutes I add a small portion of water on the soil from above. While doing this I tried to avoid to get water on the leaves.
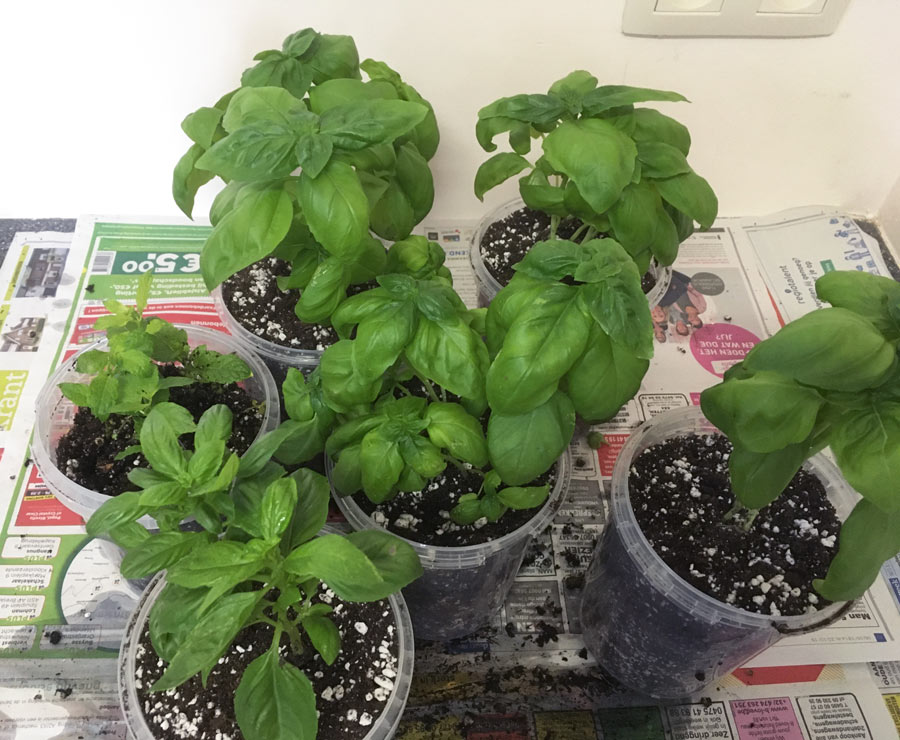
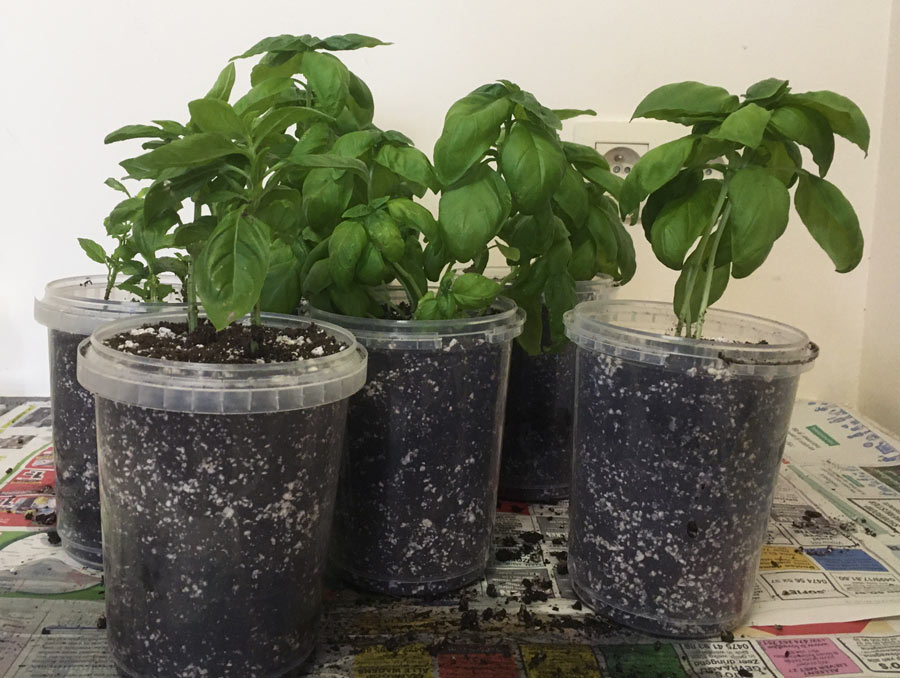
12 – The result of repotting from one basil plant
After watering (and allow them to drain) the pots are ready to be moved to their growing spots.
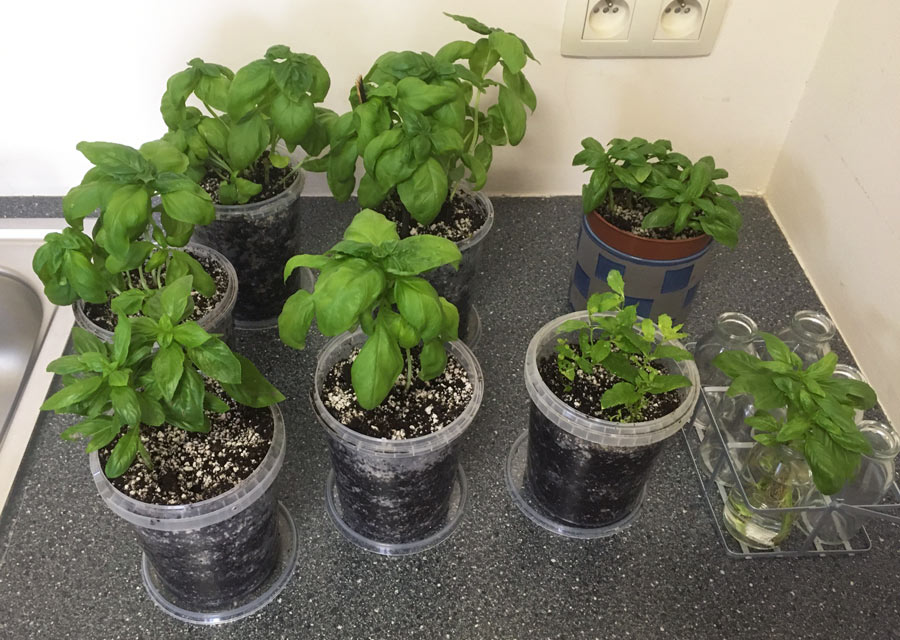
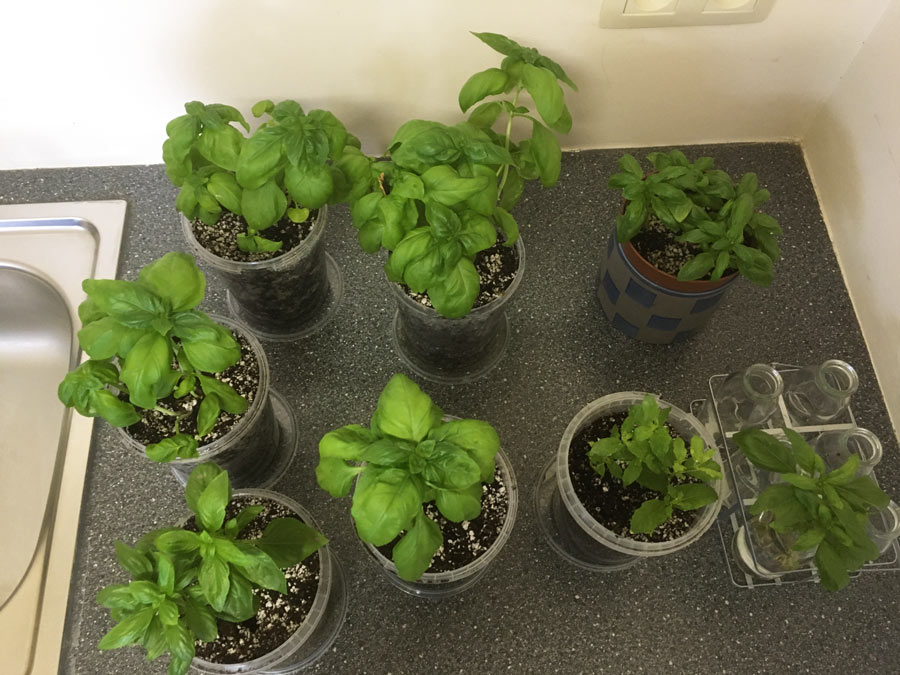
Ready for growing new big basil plants
In my growing spot with the grow light. In this picture you can also see the mint cuttings that I have been rooting the last couple of weeks.
Now, the next step is to take care of my newbies: light, temperature and (just) watering. You can read how it went soon on this blog.
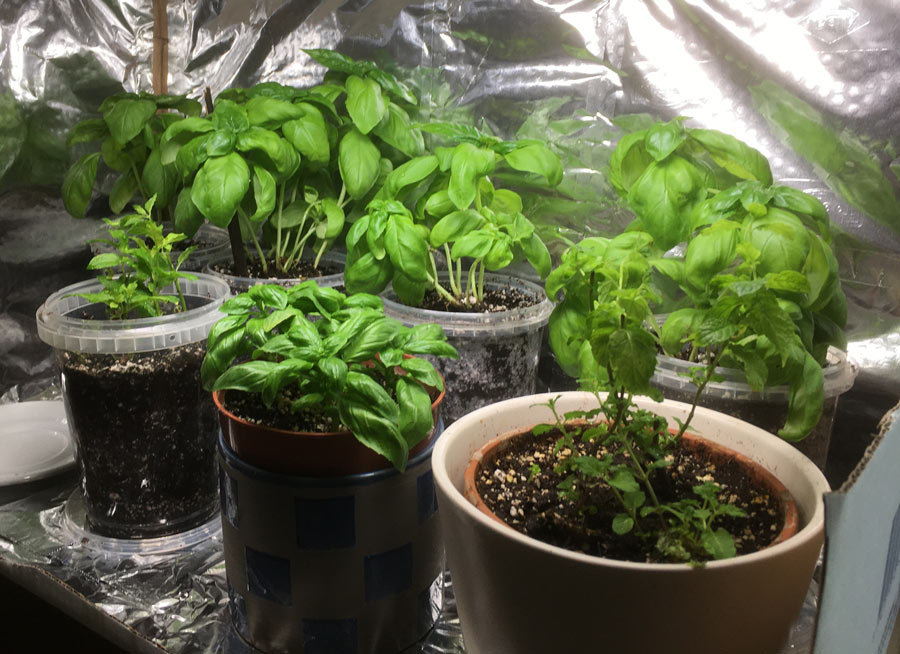
Have you ever tried this yourself? Curious how they turned out? Here’s the same plants, six weeks after I split and repotted them: here’s the same plant six weeks after I split and repotted it:”


How to safely trim them down. My plants are 1 ft tall?
Great question, and the good news is basil loves being trimmed — it’s almost impossible to over-help it as long as you follow one simple rule.
Always cut just above a pair of leaves. Look down the stem and you’ll see points where two leaves grow out (the leaf nodes). Make your cut about half a centimetre above one of those pairs, using clean scissors or snips. The magic of this is that the plant responds by sending out two new stems from that point — so every cut you make actually gives you a bushier, fuller plant. Cut in the wrong place (halfway up a bare stem) and you’ll just be left with a sad-looking stub, so always aim just above a leaf pair.
Trim from the top down. Since your plants are around 30 cm (1 ft) tall, you’ve got plenty to work with. Decide how much height you want to take off, find a healthy pair of leaves at that level, and cut just above it.
Don’t take off more than about a third in one go. This is the one safety rule. Basil bounces back beautifully, but it still needs enough leaves left to feed itself and recover. So if your plant’s quite tall and leggy and you want to bring it right down, do it in stages — take a third now, let it put out fresh growth for a week or two, then trim again. If you only want a light tidy-up, just nip the tops.
Two bonuses while you’re at it: pinch off any flower buds you spot (that keeps the leaves tasty), and don’t waste the trimmings — pop the healthy ones in a glass of water and they’ll root into brand-new plants in a week or two. Regular trimming like this is genuinely the secret to a big, bushy, productive basil plant, so trim away with confidence.
Thanks for these tips, I’m going to try this right now!
I’ve been doing this for years. I only do plants on my apartment balcony, so every spring I buy one of those grocery pots and divide them. Then as they need pruning, I put the pruned stems in a glass of water on the kitchen counter and cook with those. I believe that, given good inside light, I could have infinite fresh basil!
I love this — you’ve built yourself a perpetual basil machine, on a balcony no less! Buying a grocery pot each spring, dividing it, then rooting the prunings on the counter while you cook with them is exactly the trick more people should know.
And you’re right about “infinite basil” — each cutting is a clone of the parent, so you can keep going indefinitely. Light is the deciding factor, just as you say: bright light (or a grow light in winter) keeps them lush rather than leggy. The only thing I’d watch long-term is disease — if a plant ever looks off, start fresh from a healthy cutting rather than passing it on. Brilliant routine, and a great example that you don’t need a garden to grow your own herbs. Thanks for sharing!